
MG Cyberster GT For Full Front PPF
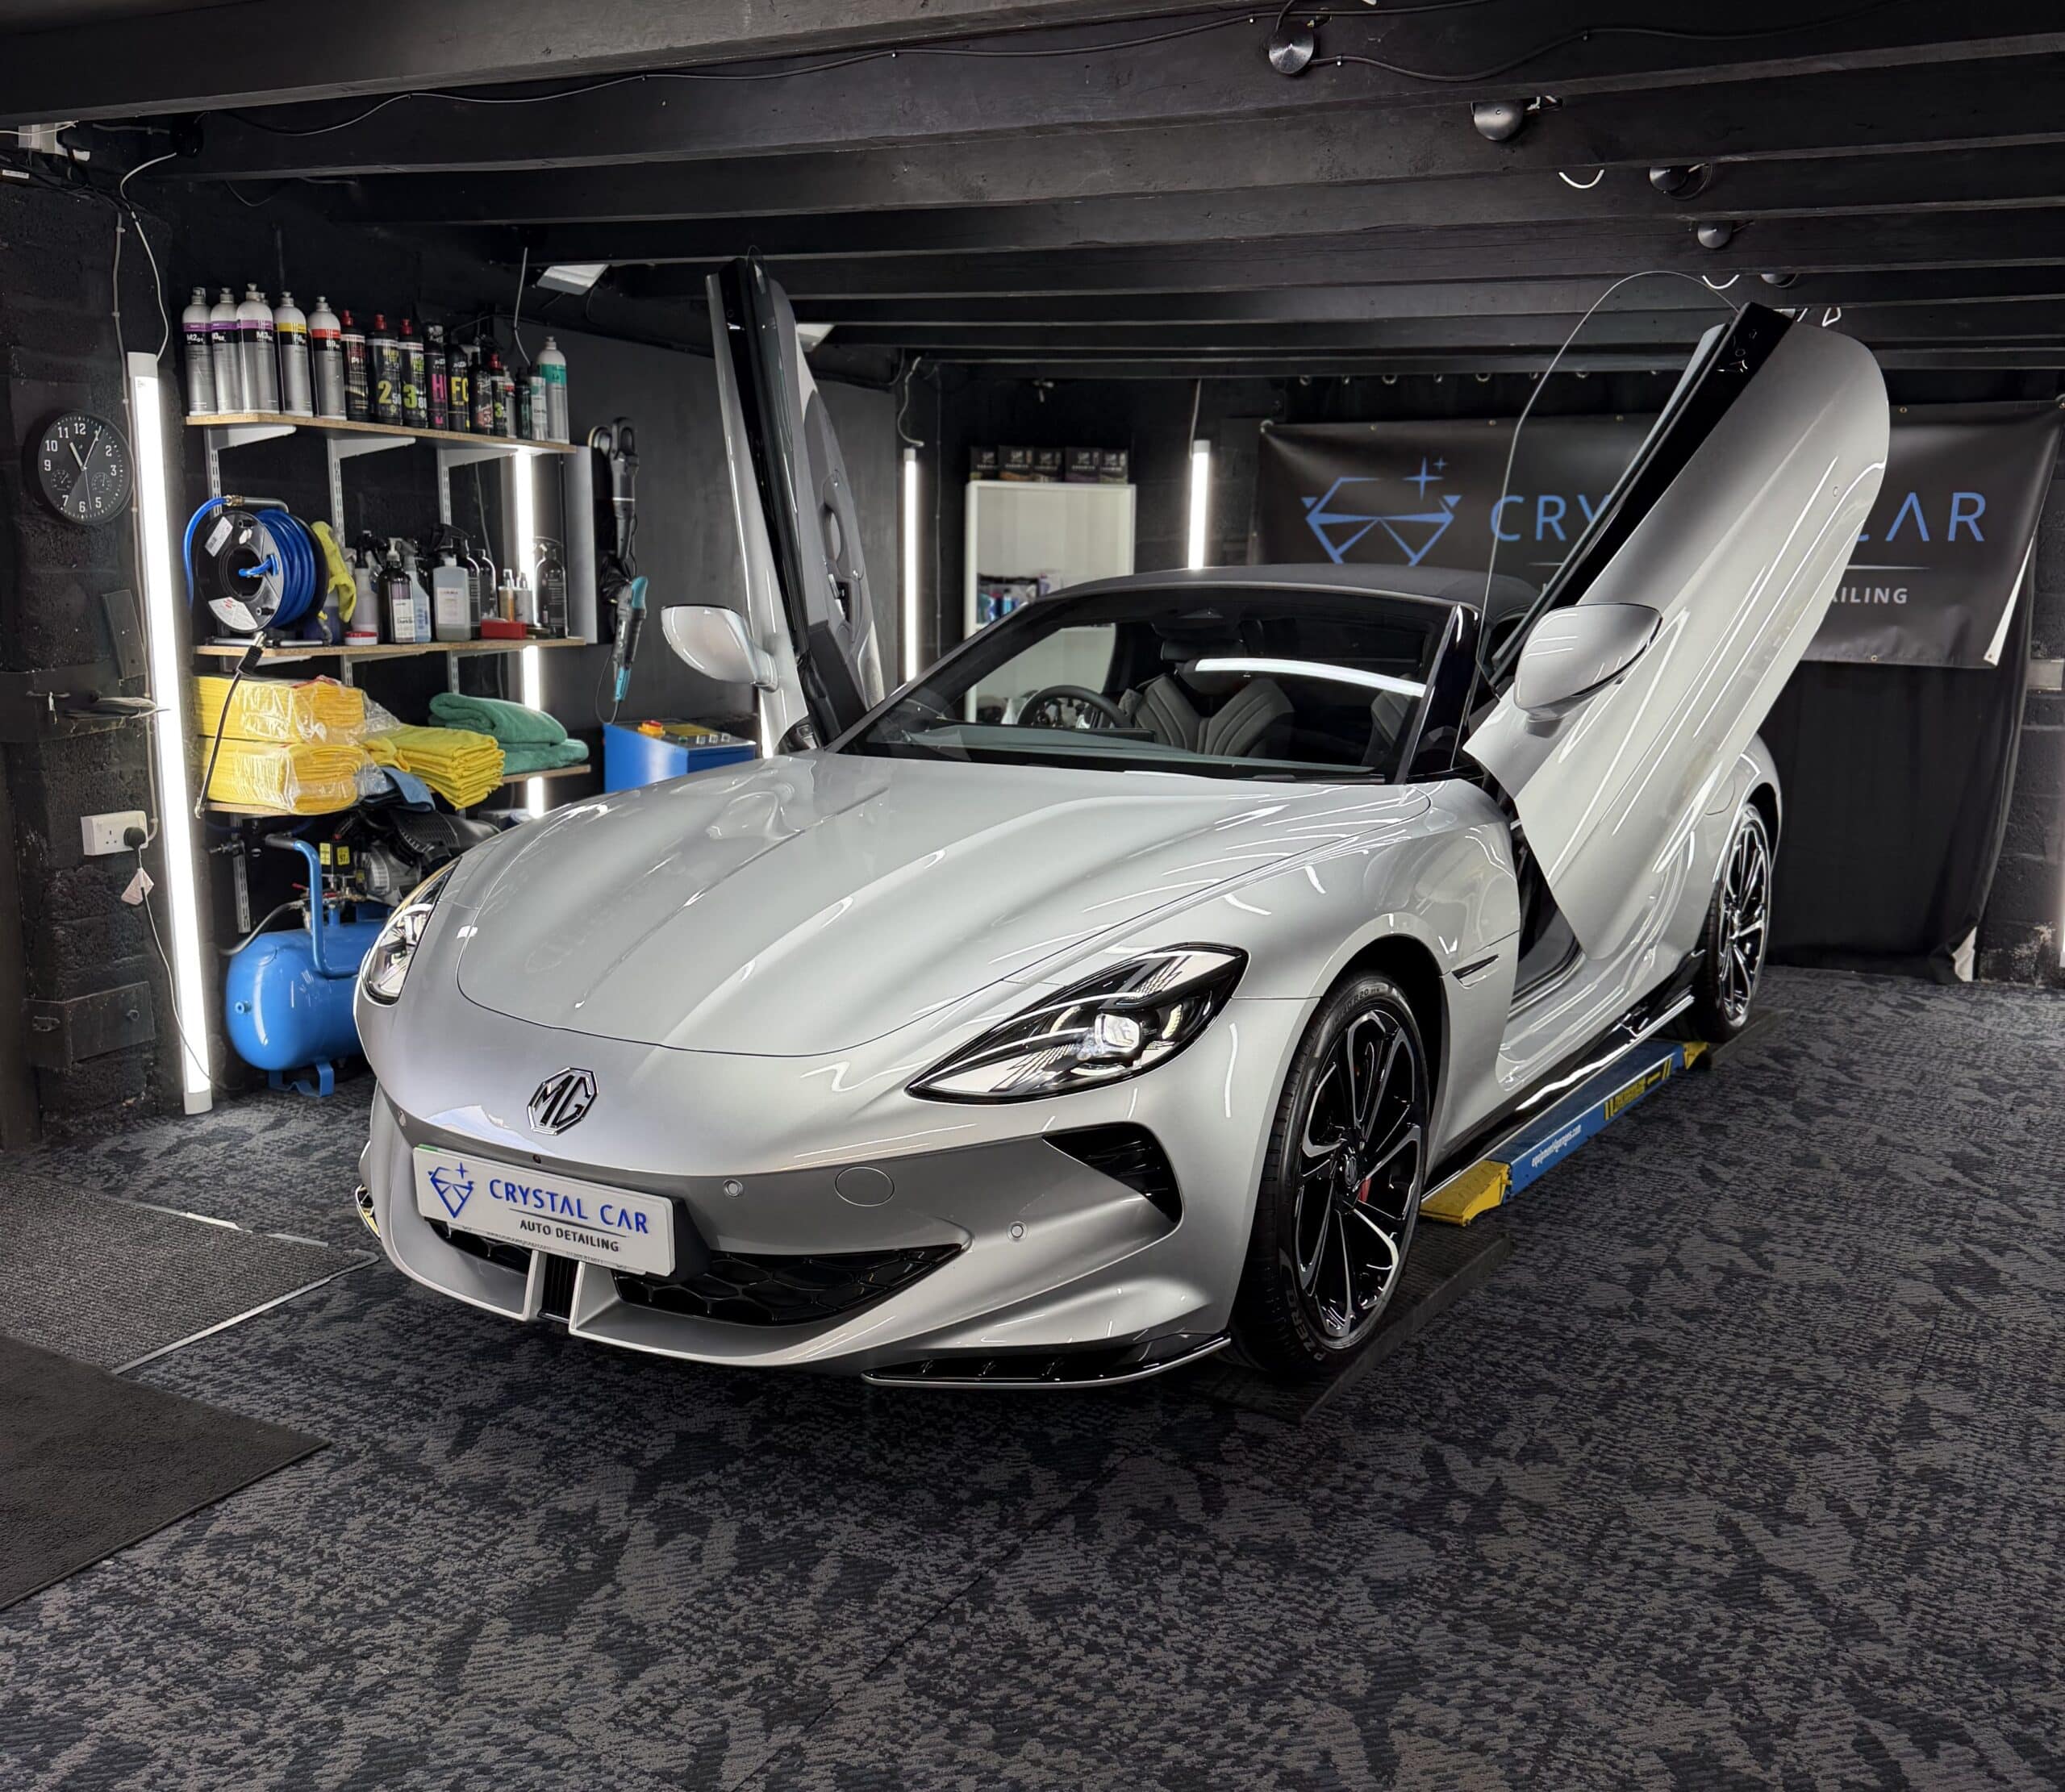
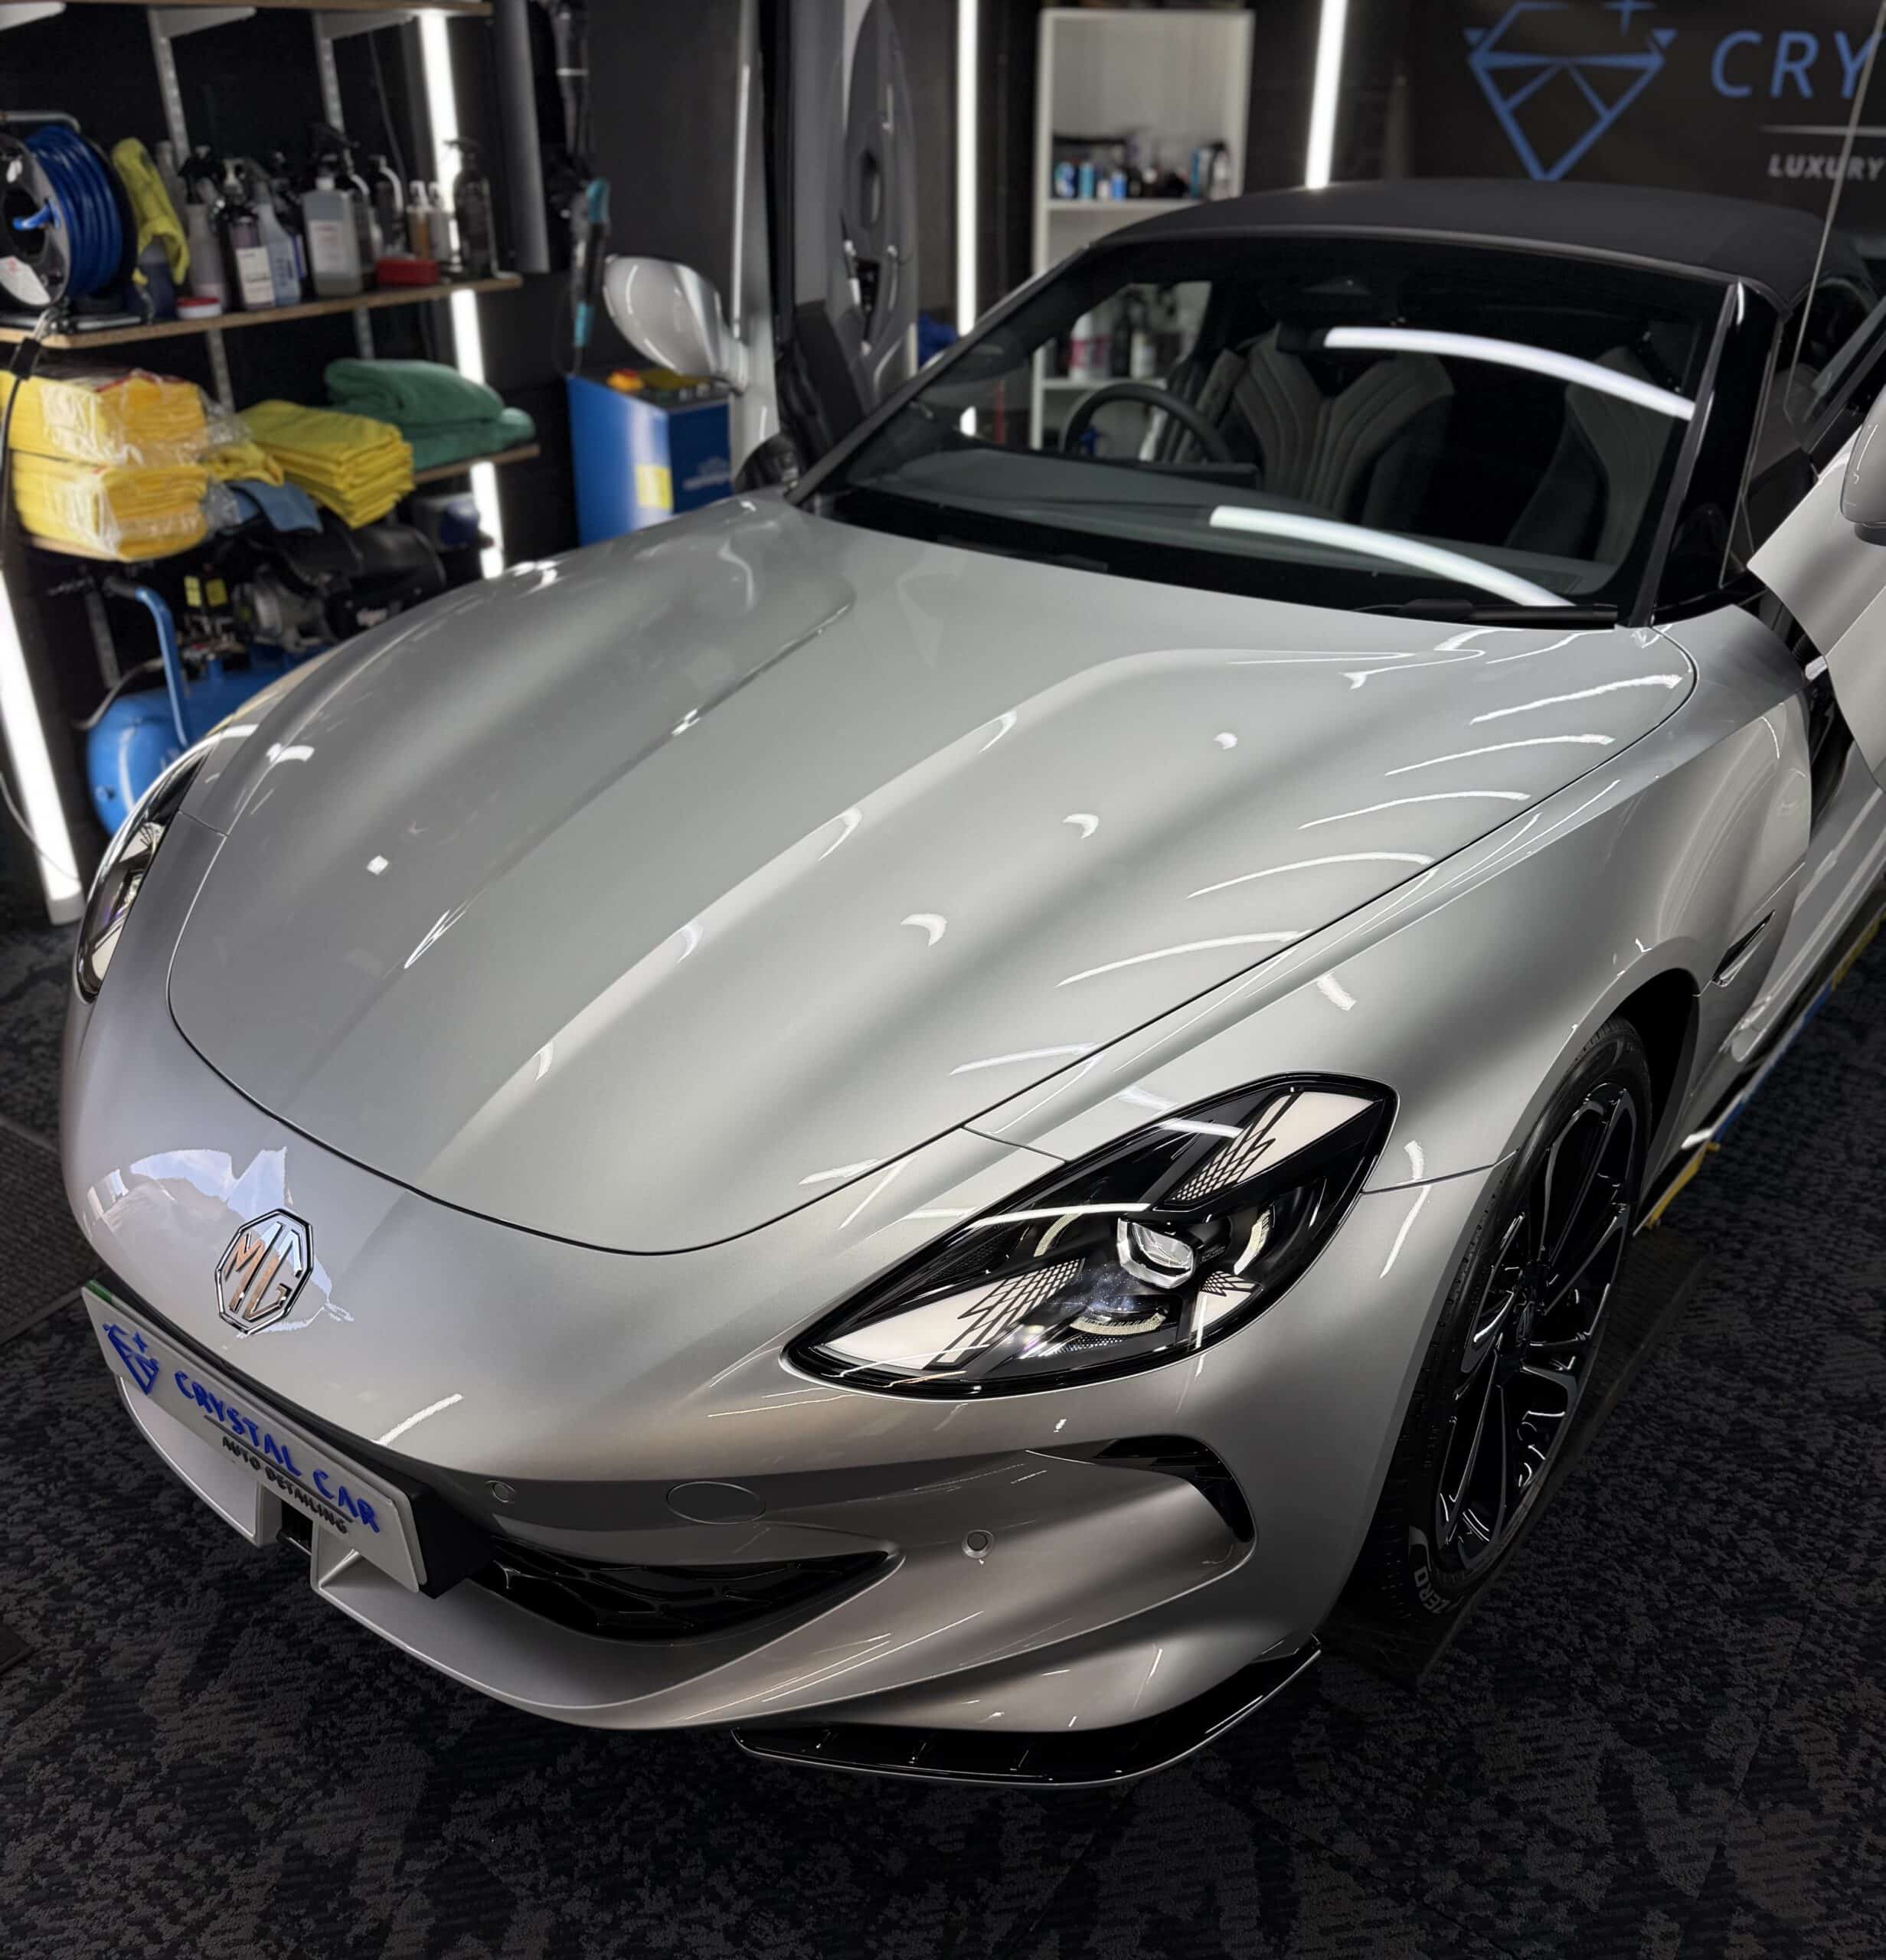
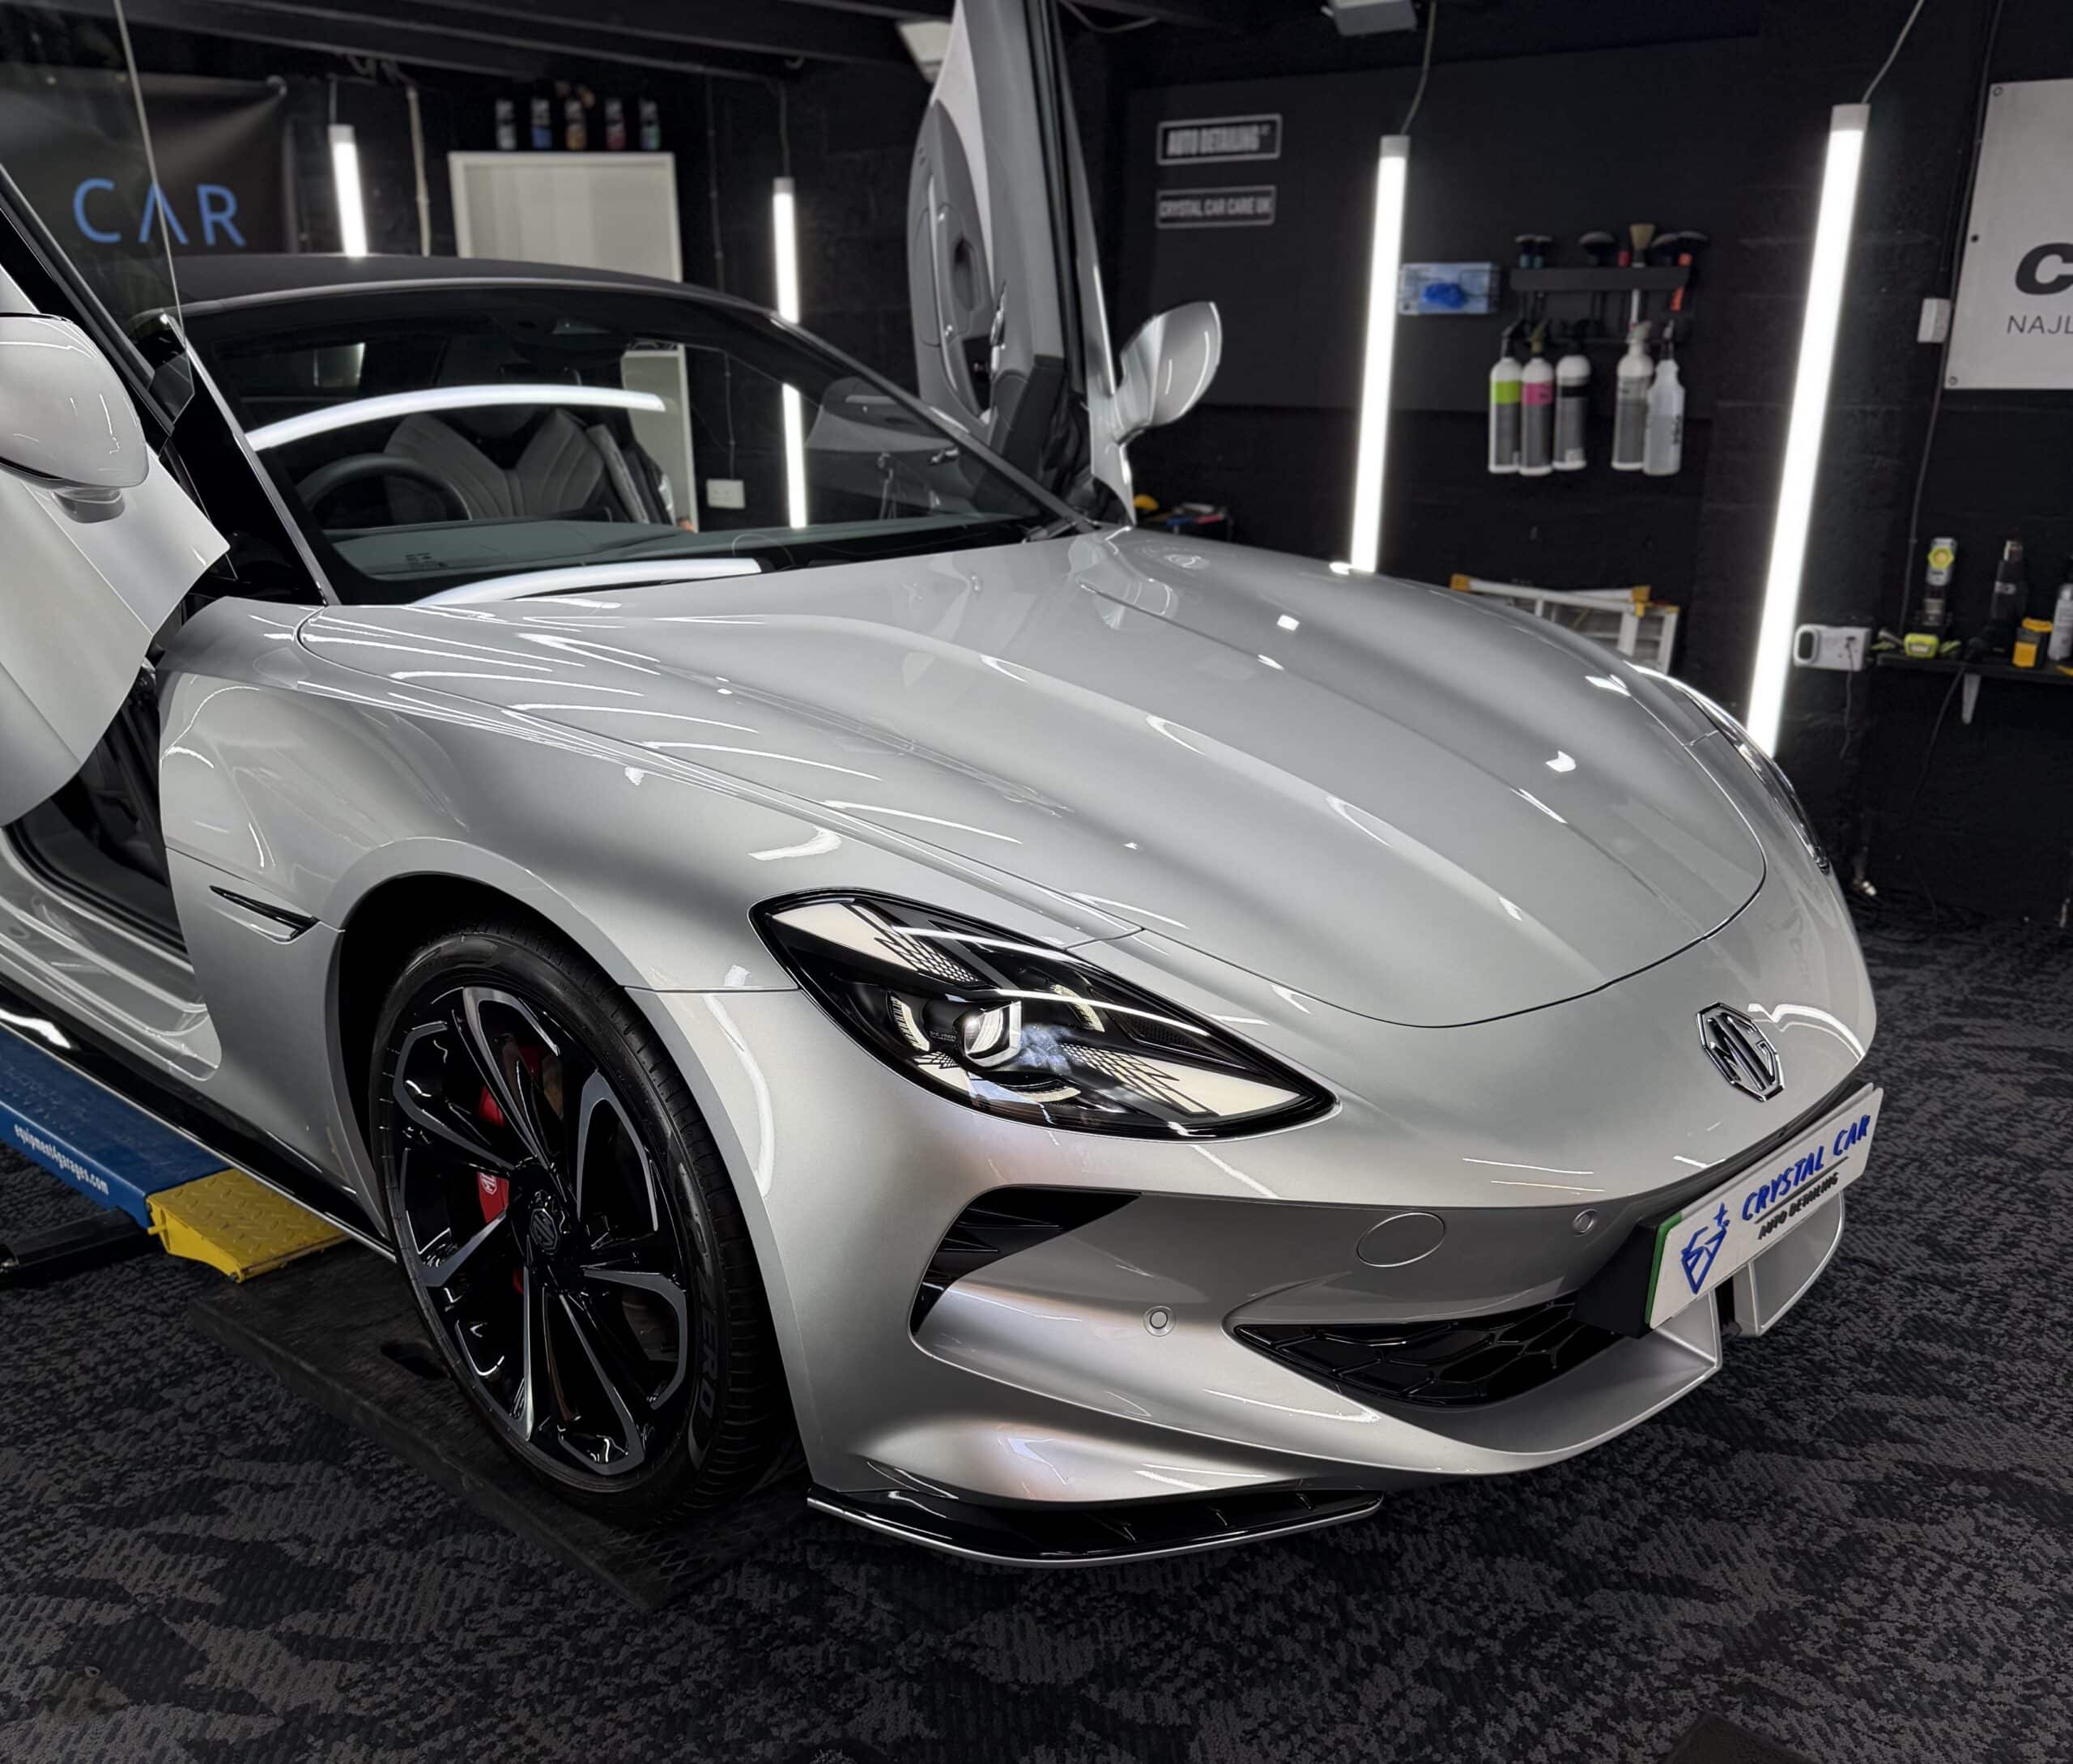
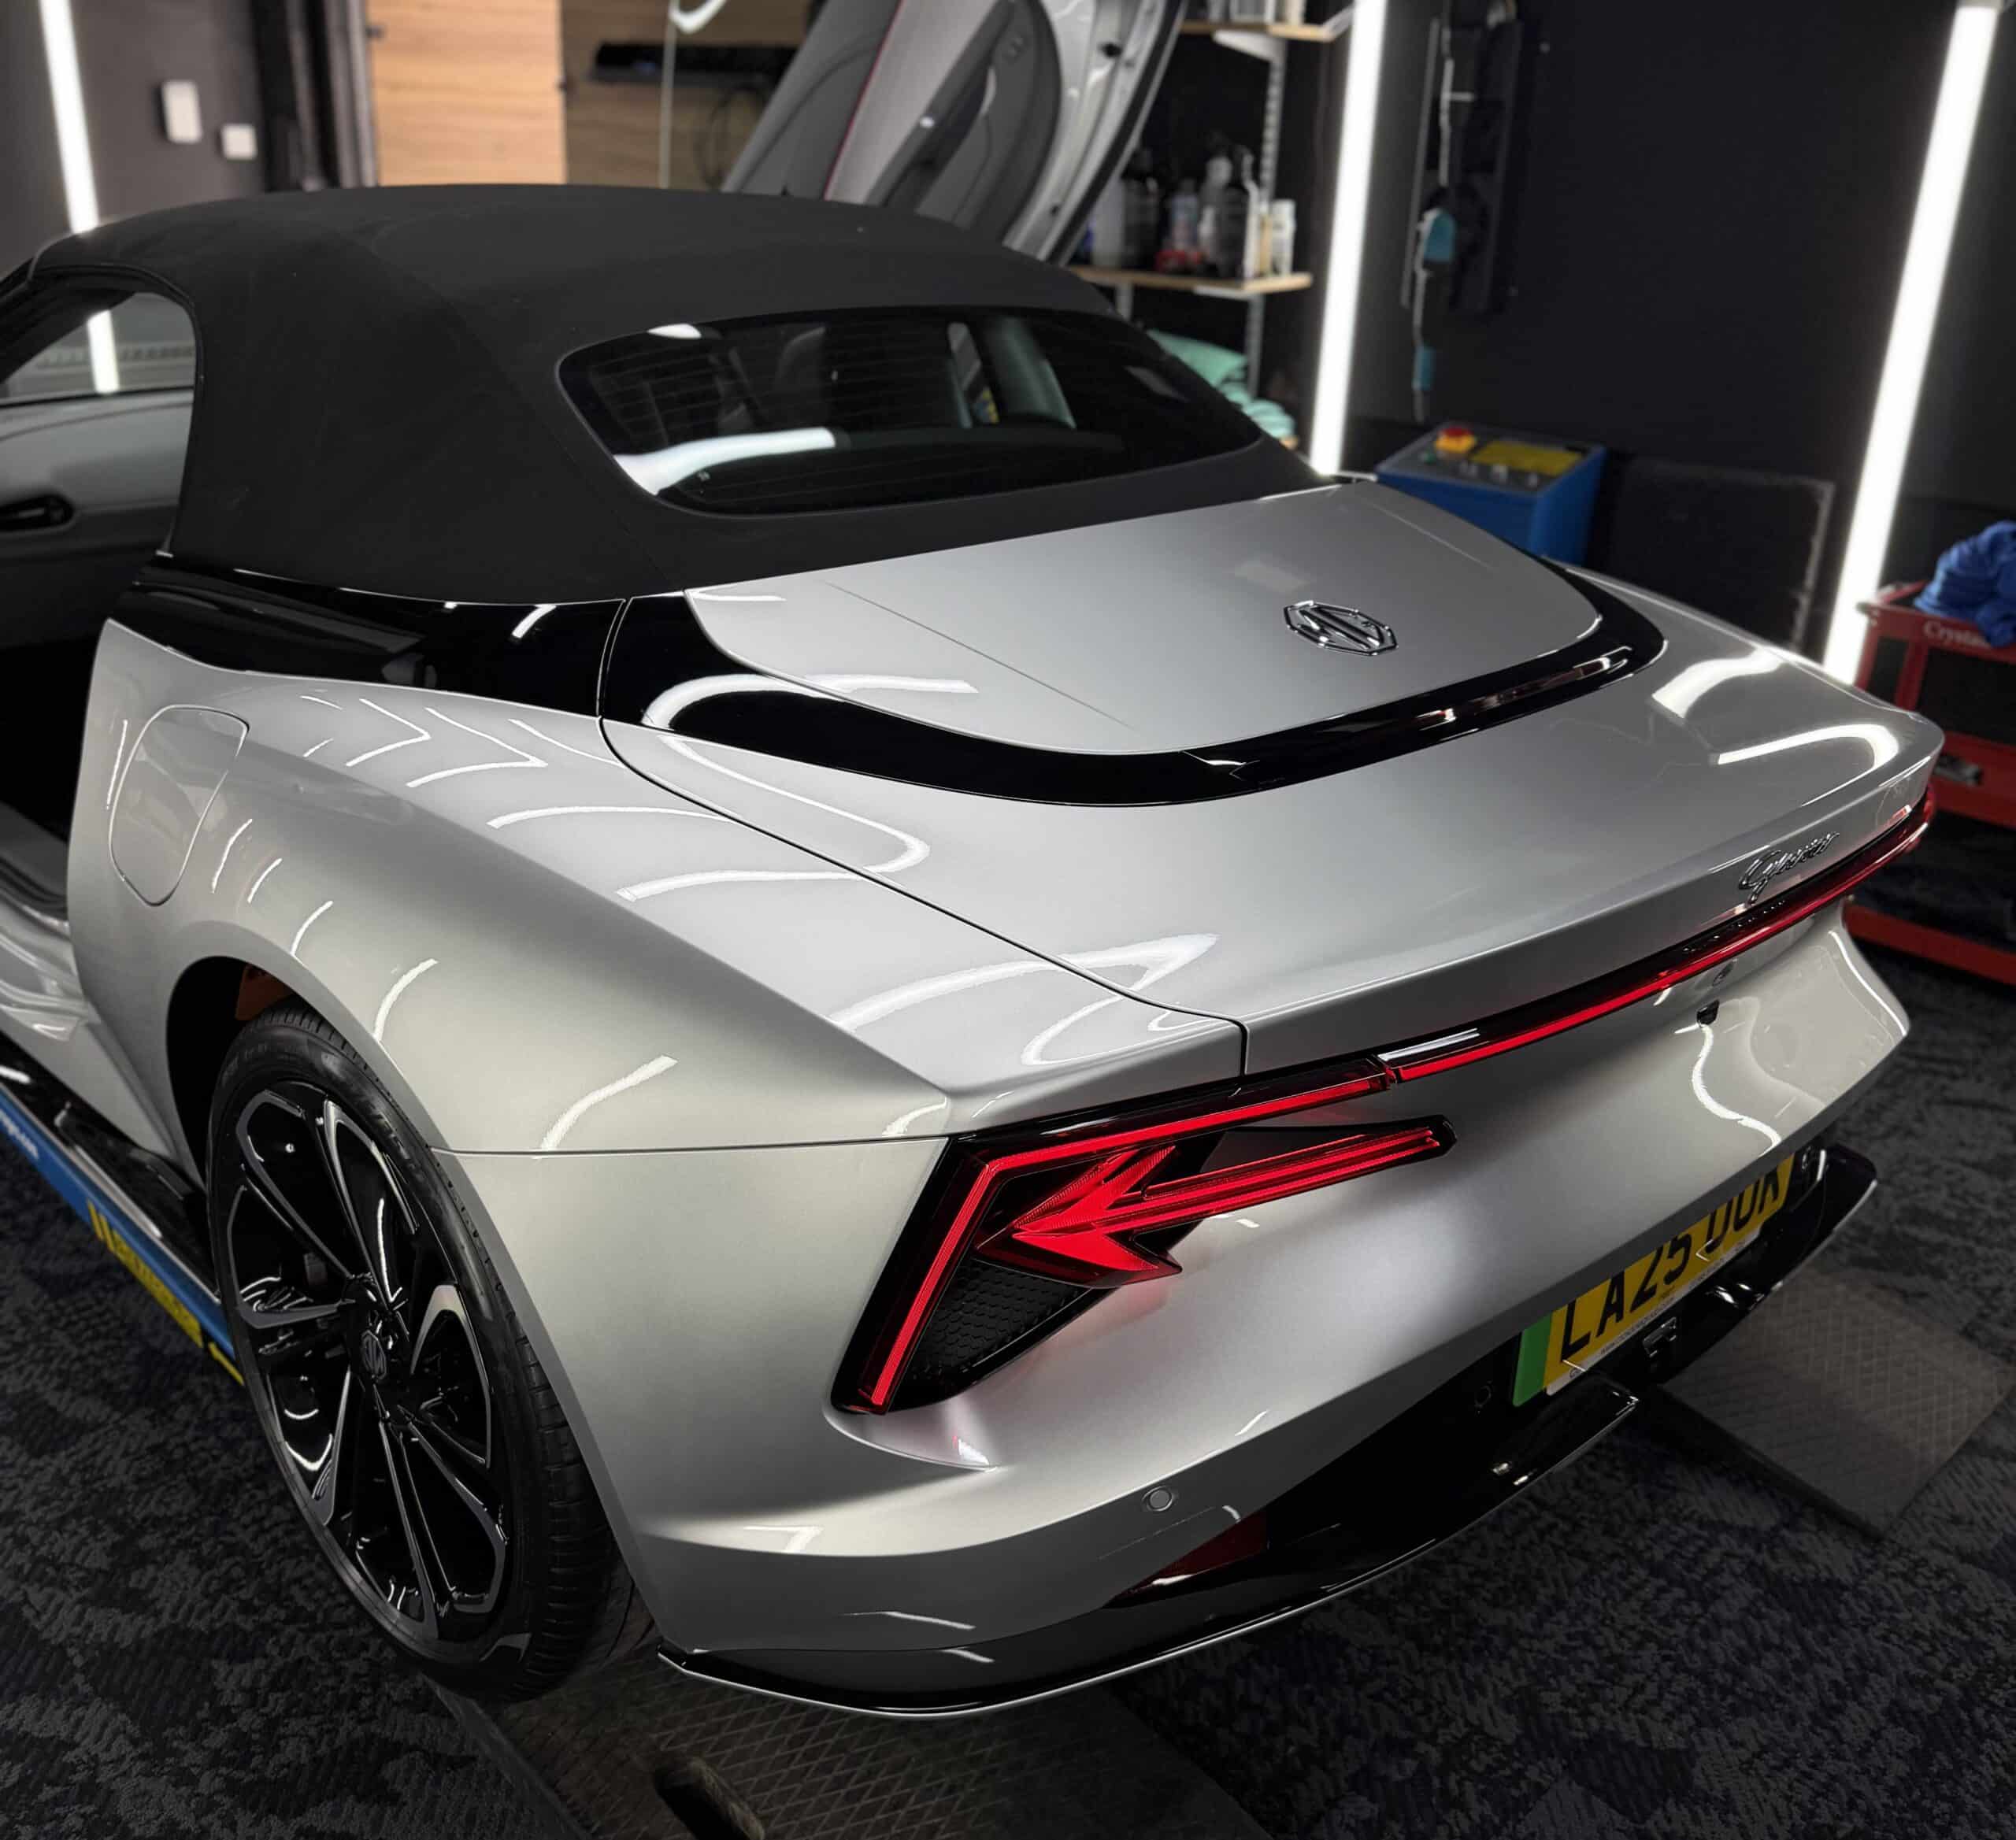
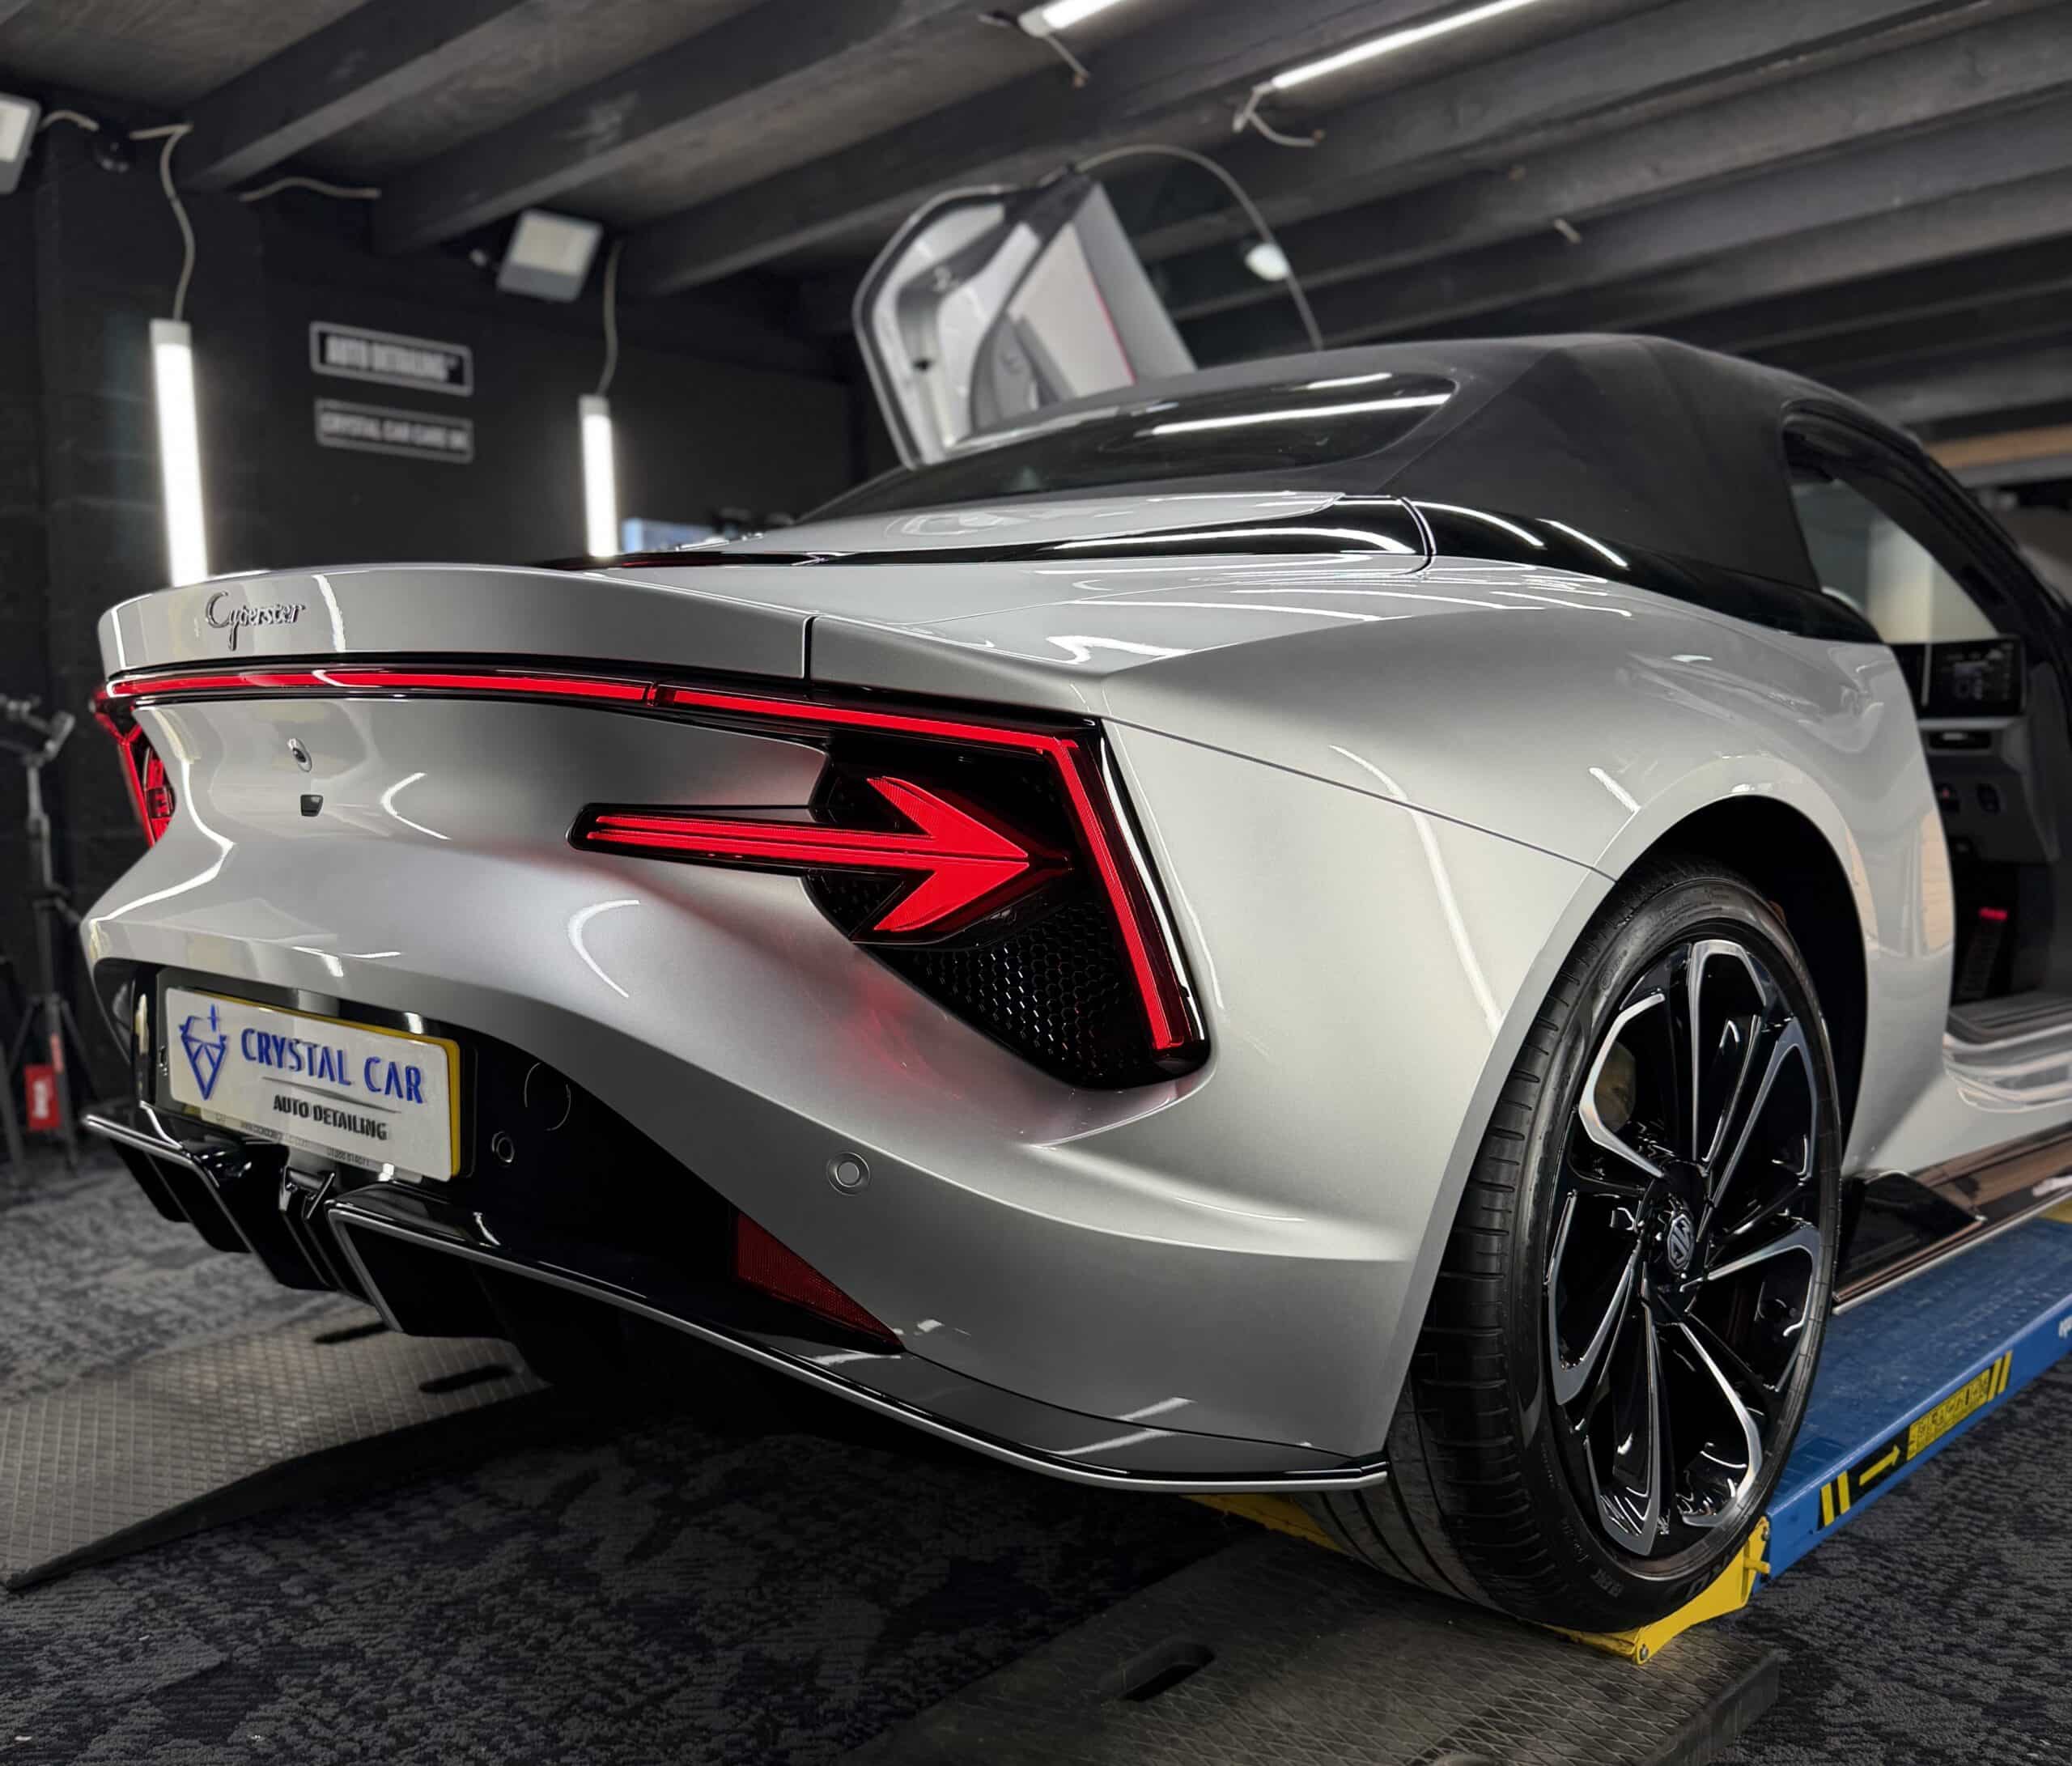
Enjoy a deep dive into one of our recent projects in doncaster. Applying Paint Protection film (PPF) to a MG Cyberster GT
Paint Protection Film (PPF)
Paint Protection Film (PPF) is a transparent, durable film applied to a vehicle’s painted surfaces to help protect the original paintwork from everyday damage. It creates a physical barrier between the paint and the outside environment, helping to reduce the risk of stone chips, road debris, light scratches, bug splatter, bird droppings, road grime and other contaminants damaging the paint.
A major benefit of PPF is that it can help the vehicle maintain its original appearance and paintwork for longer. High-quality PPF can also have self-healing properties, meaning that minor surface scratches and swirl marks can disappear when exposed to heat, such as sunlight or warm water. PPF is particularly useful on areas that receive a lot of impact, such as the front bumper, bonnet, wings, door edges, mirrors and side skirts.
Because the film is transparent, it allows the original colour and finish of the vehicle to remain visible while providing an additional layer of protection. It can also make the vehicle easier to maintain because contaminants are applied to the film rather than directly to the paintwork. Properly installed PPF can therefore help preserve the vehicle’s condition, maintain its appearance and potentially protect its resale value.
PPF Application Process
1. Washing the vehicle
We begin by thoroughly washing the vehicle to remove grime, dirt, road salt, traffic film, dust and other contaminants from the bodywork.
Particular attention is paid to the panel where the PPF is going to be installed, as even a small amount of dirt can affect the final finish.
The panel must be as clean as possible before moving on to the preparation stage.
Removing contamination at this stage helps prevent dirt from becoming trapped underneath the PPF during installation.
2. Preparing the panel
Once the vehicle has been washed, we prepare the specific area where the PPF is going to be applied.
We use an alcohol-based preparation solution to remove any remaining oils, residue, dust or small contaminants that may still be present on the paintwork.
This gives us a clean surface for the adhesive on the PPF to bond to.
We carefully inspect the panel before continuing to make sure there are no remaining contaminants that could cause imperfections underneath the film.
3. Preparing and removing the PPF from the sheet
We locate the correct pre-cut PPF pattern for the panel we are working on.
The film is carefully removed from its backing sheet while using an appropriate water-and-soap application solution.
The solution helps prevent the film from sticking prematurely and allows us to position and manipulate the PPF correctly.
We handle the film carefully to avoid introducing dust, dirt, fingerprints or other contaminants onto the adhesive side.
Taking our time during this stage is important because contamination underneath the film can become visible once the PPF has been installed.
4. Applying the PPF to the panel
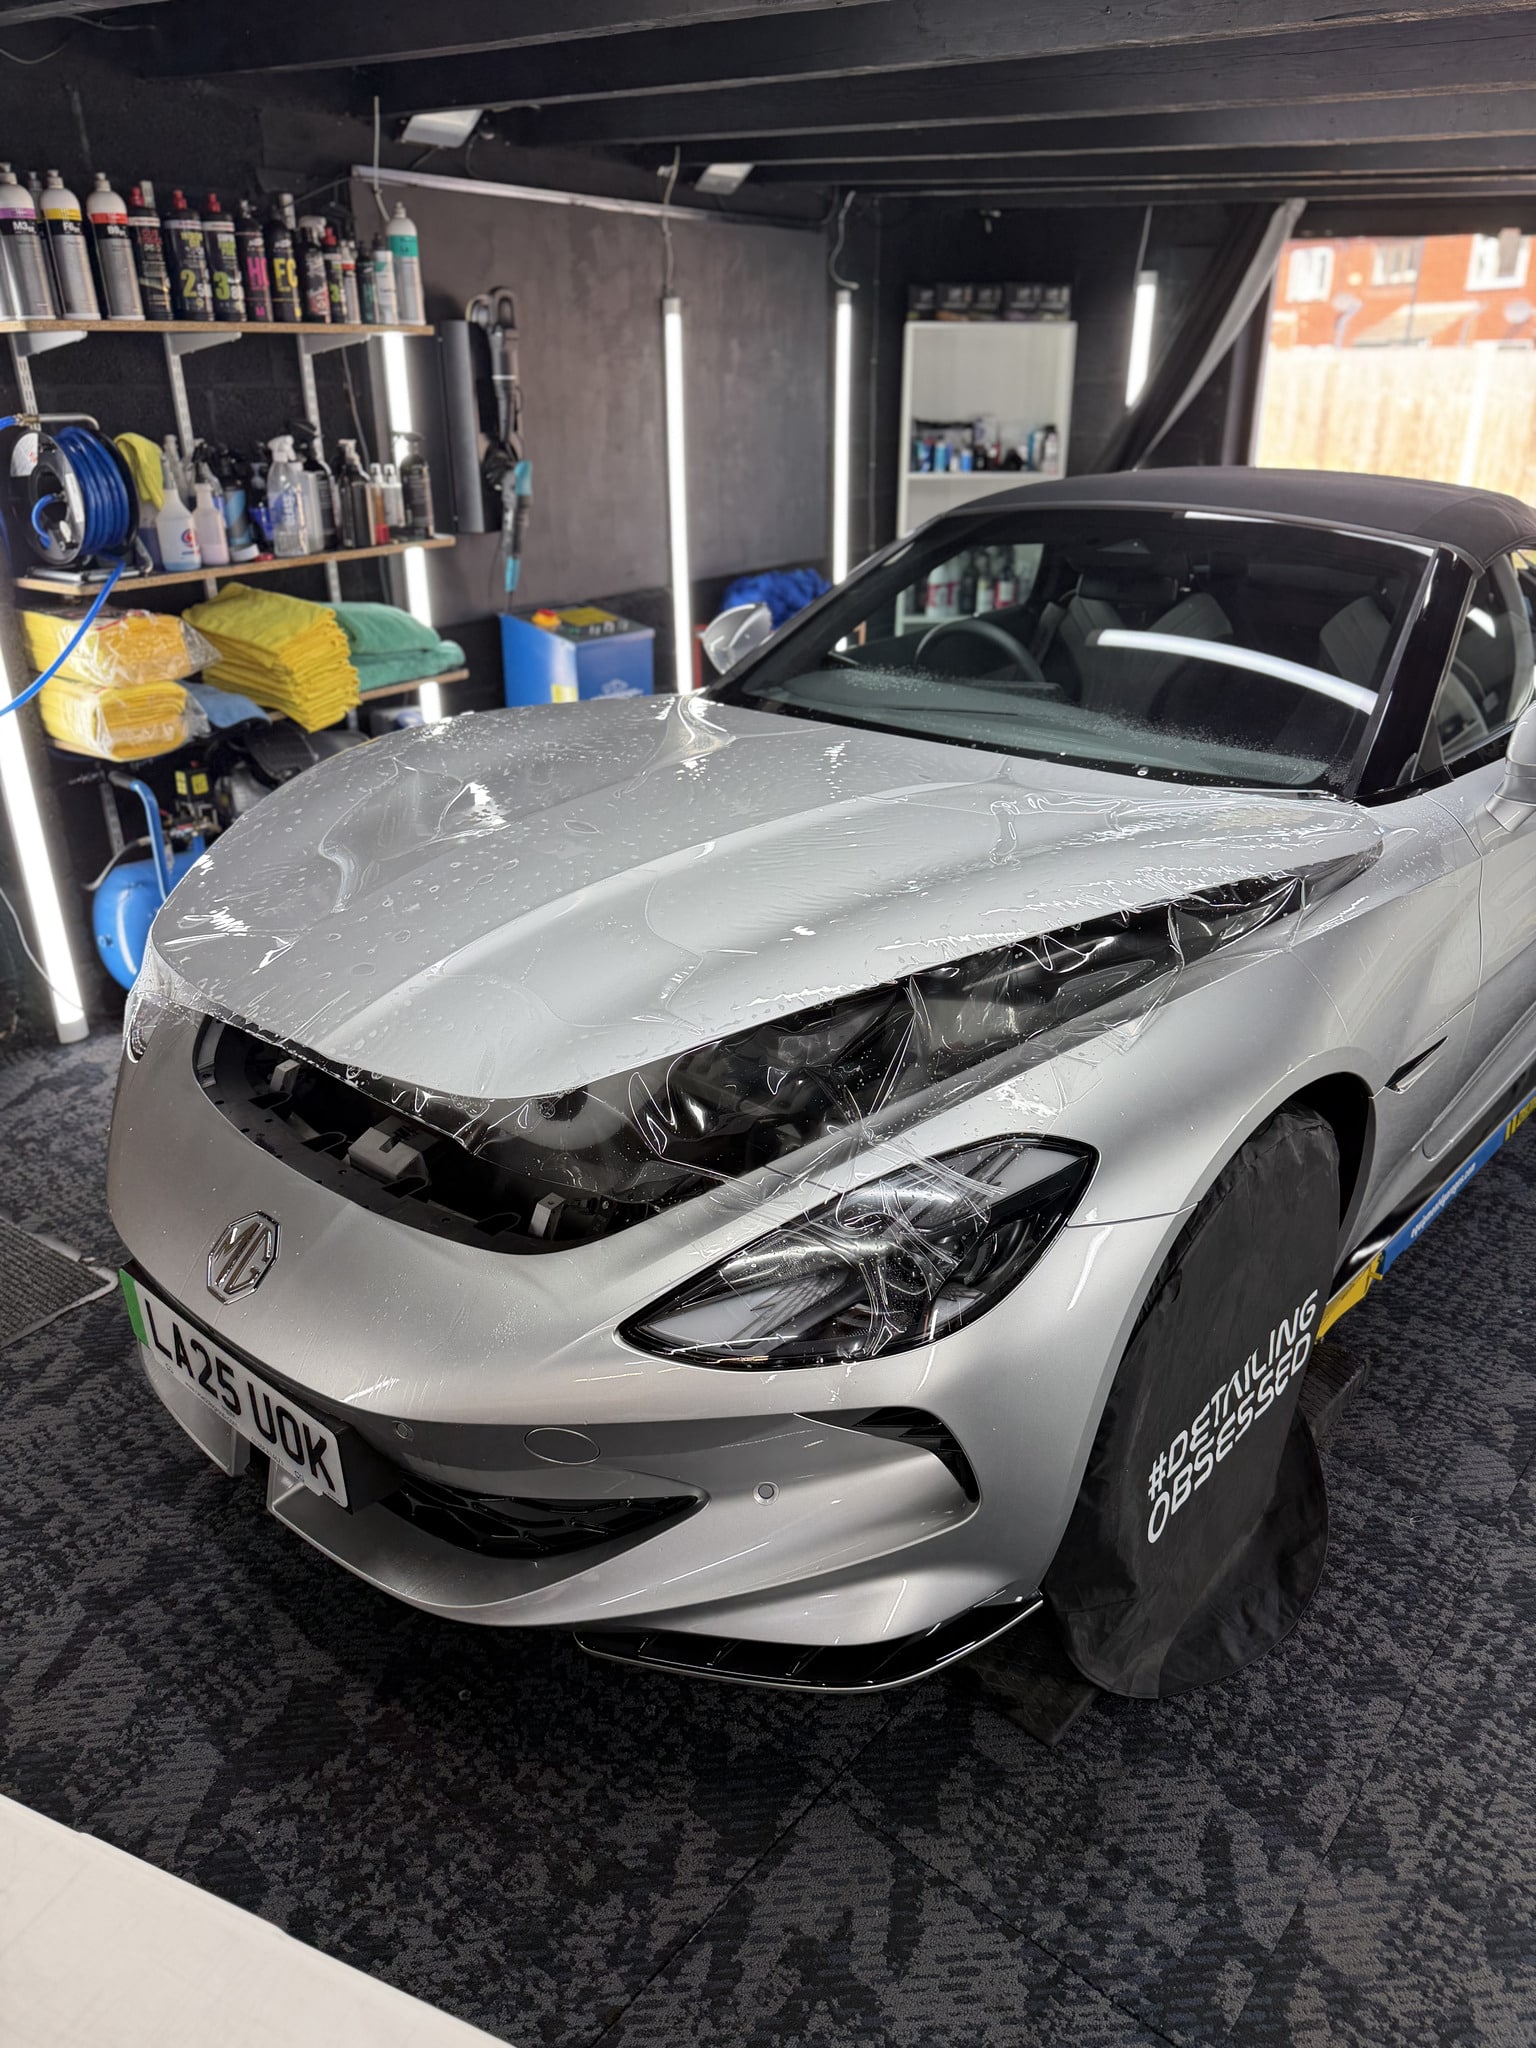
Once the PPF has been prepared, we carefully position it over the freshly cleaned panel.
We make sure the film is correctly aligned with the edges, contours and features of the panel before securing it.
The application solution allows us to make small adjustments to the position of the film if necessary.
We work carefully around curves and edges so that the PPF follows the shape of the bodywork correctly without unnecessary creases or folds.
5. Securing the PPF with a squeegee
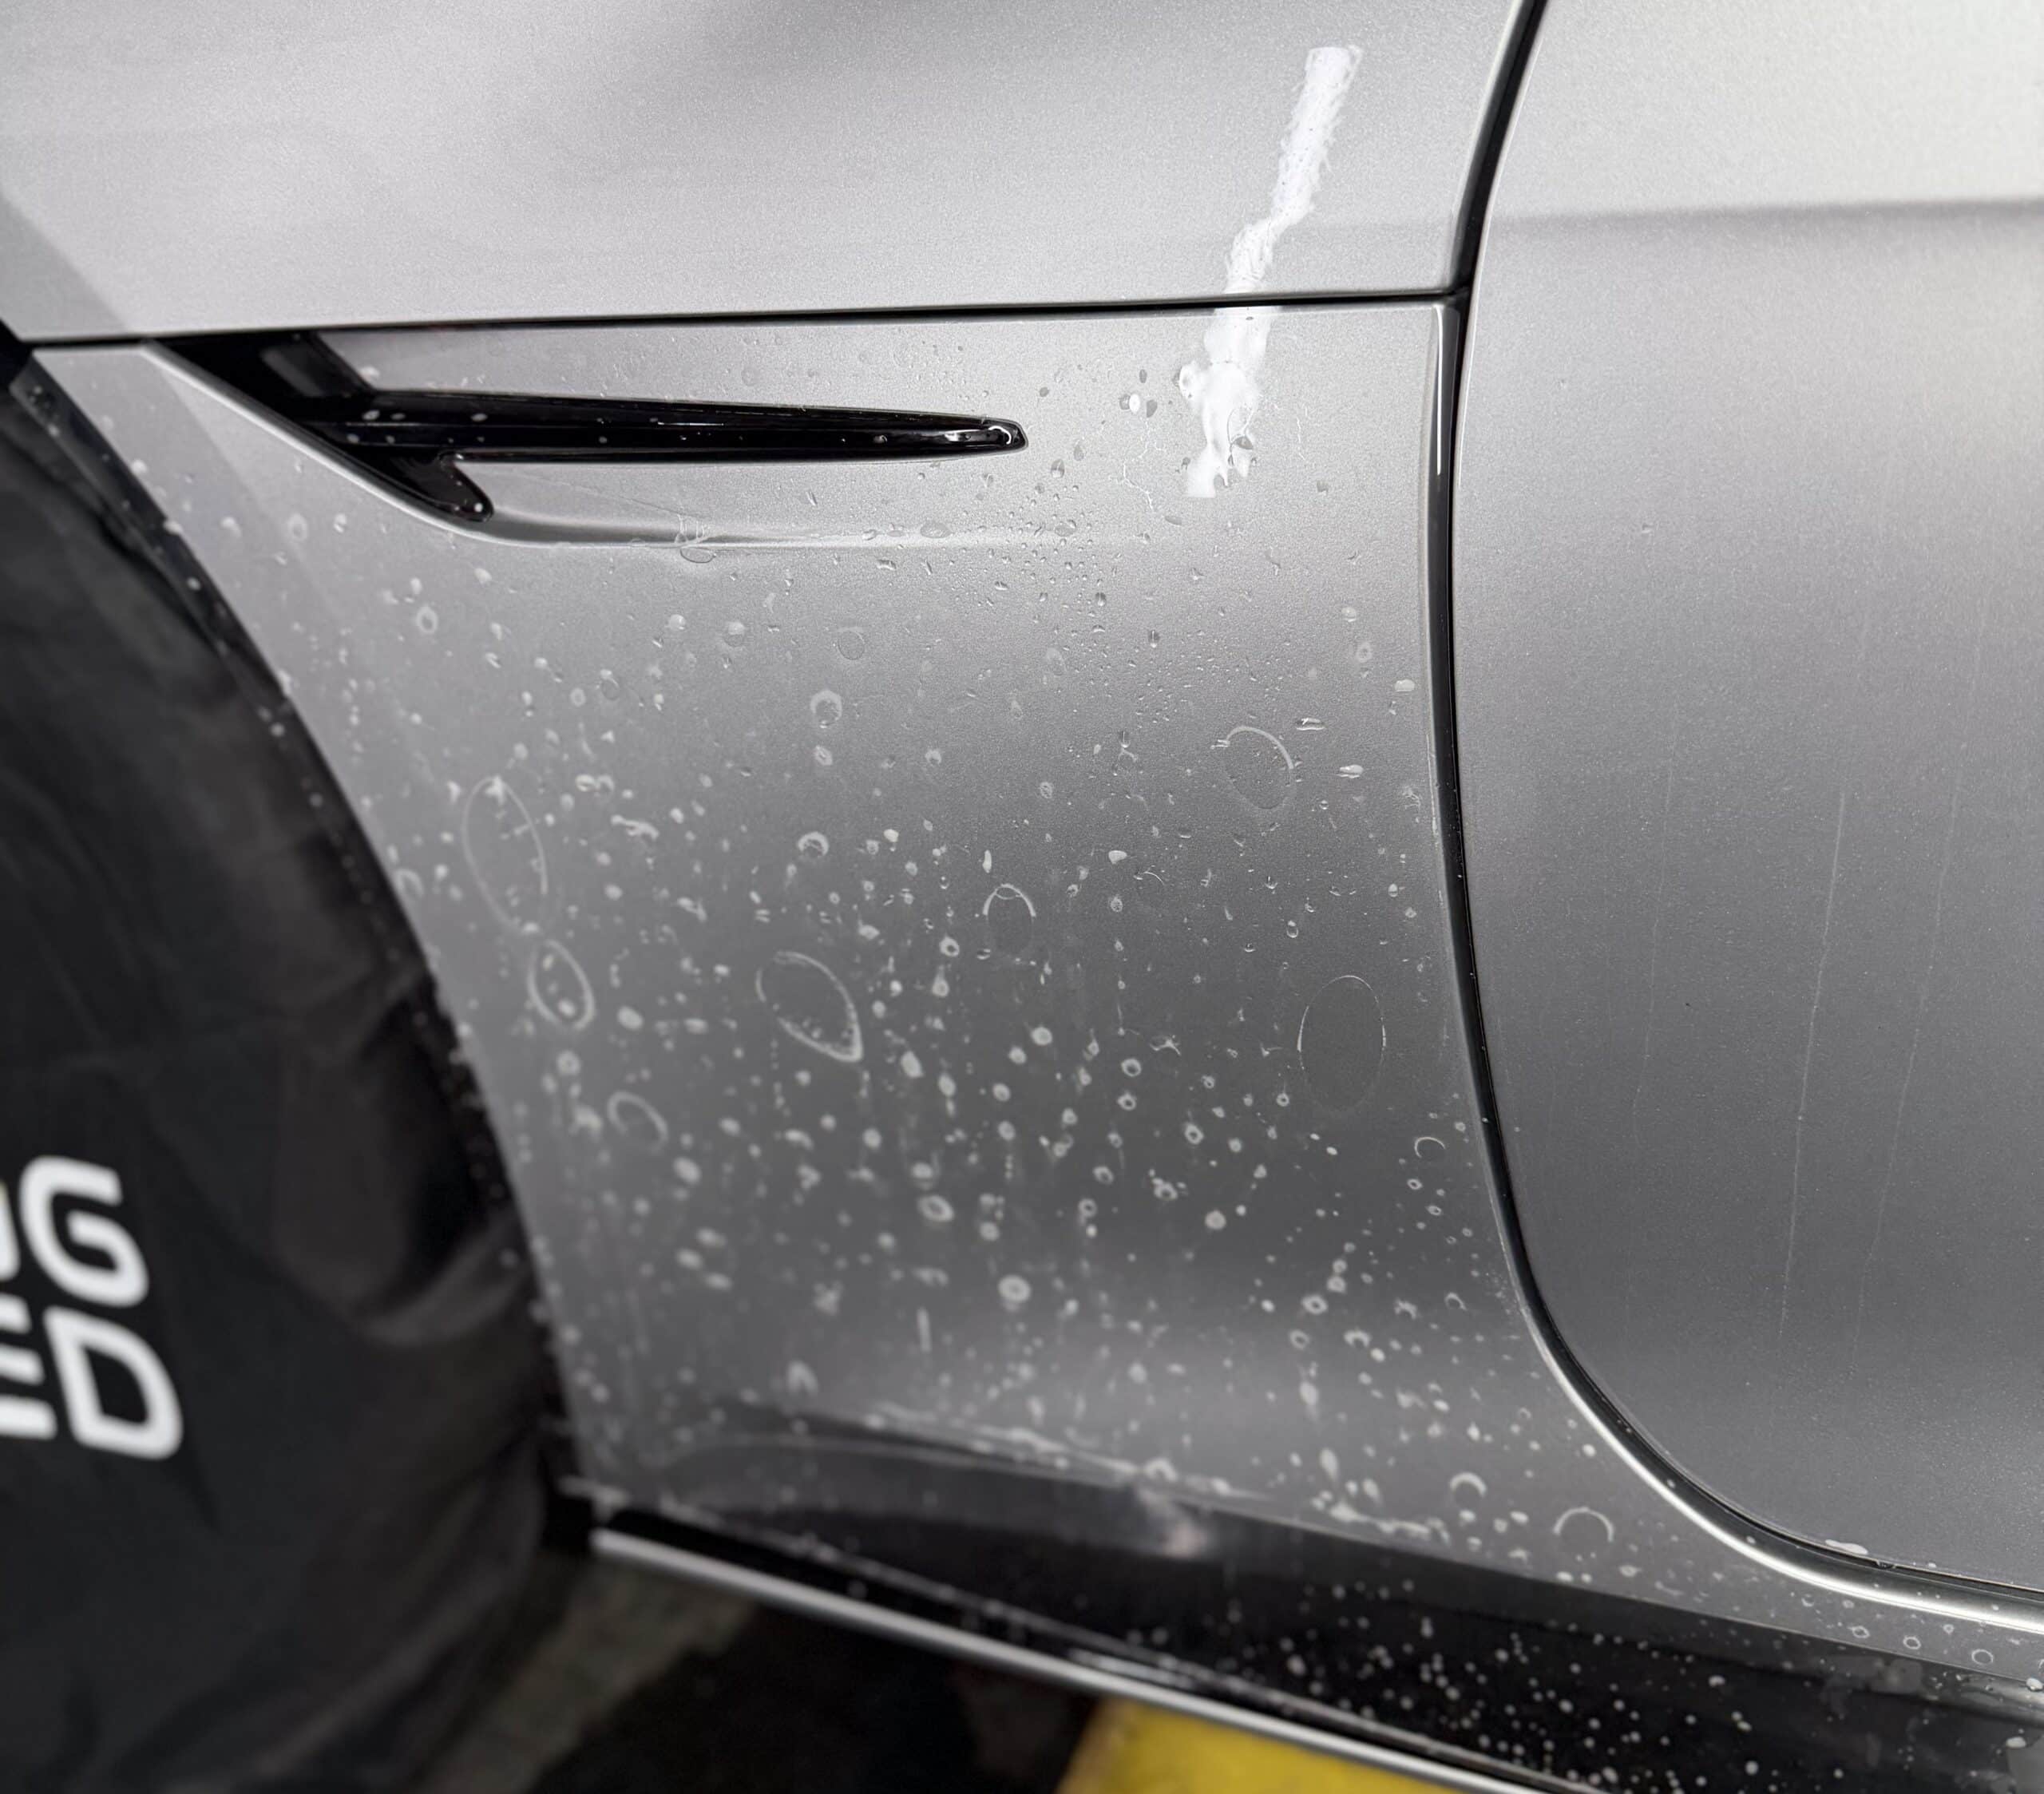
Once the PPF is correctly positioned, we use a specialist PPF squeegee to gradually secure the film to the panel.
The squeegee is used to push the application solution and trapped air out from underneath the film.
We work methodically across the panel rather than trying to secure the entire film at once.
This helps prevent air bubbles, water pockets, creases and uneven areas from being left underneath the PPF.
We continually inspect the film as we work to ensure that it is sitting correctly and that there are no visible installation errors.
6. Drying and inspecting the finished area
Once the PPF has been secured, we carefully dry the surrounding area using a clean microfibre cloth.
We then inspect the completed panel from different angles and under suitable lighting.
We check for any remaining air bubbles, trapped contamination, wrinkles, lifting edges or other imperfections.
If an issue is identified, it can be addressed before moving on to the next panel.
This final inspection is important because it ensures that the installation meets the required standard and that the finished PPF looks as seamless as possible.
7. Completing the panel
Once the PPF has been successfully applied, secured, dried and inspected, the panel is considered complete.
We carry out one final check to ensure that the film is correctly positioned and that the edges and surrounding areas are clean.
The completed panel is then left in the appropriate condition for the PPF to properly settle and adhere.
We can then move on to the next panel, repeating the same preparation and installation process until all required areas of the vehicle have been protected.
BOOK ONLINE
BOOK CRYSTAL CAR CARE
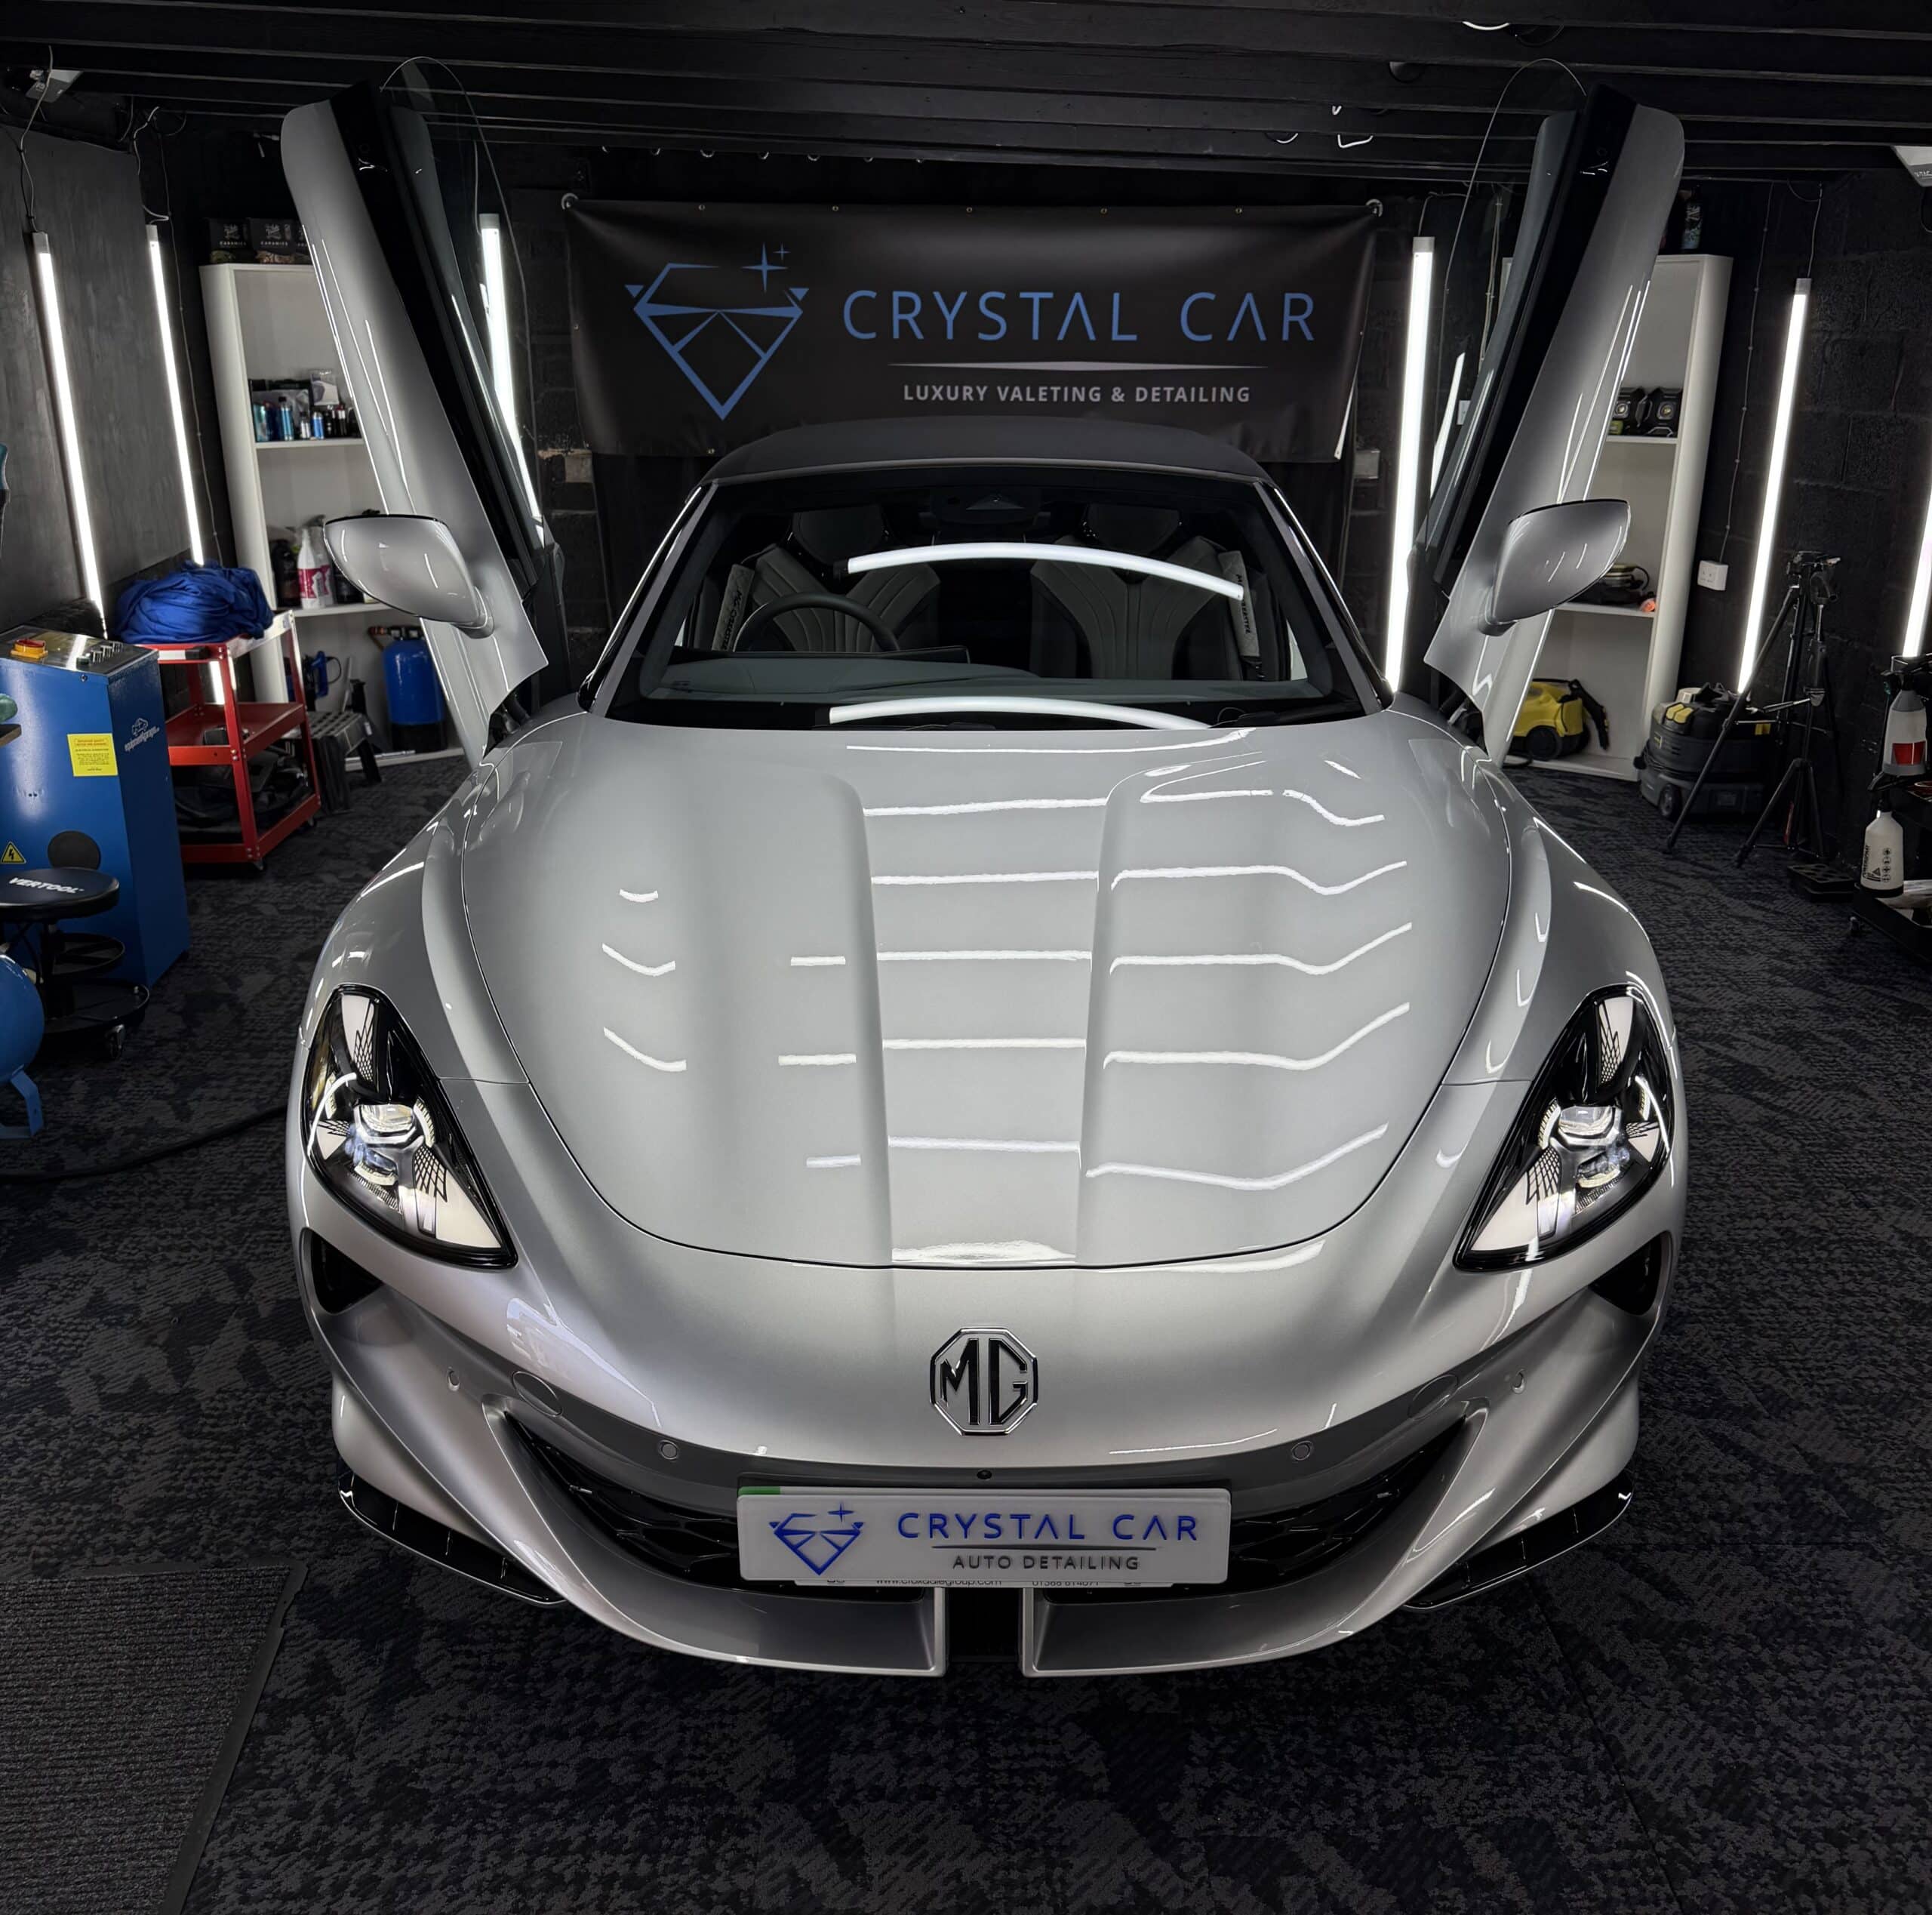
Whether you need paint protection, ceramic coating, or a full PPF, we deliver results that last.
WHAT RECENT CUSTOMERS SAY...

FILL OUT THE FORM BELOW
"*" indicates required fields